Top Tips for Connecting Consoles to Your TV
- Sanchit Kharbat
- 2 hours ago
- 4 min read

Connecting your gaming console to your TV can seem daunting, especially with the variety of cables, ports, and settings available. However, with the right guidance, you can easily set up your gaming system and enjoy a seamless gaming experience. This blog post will provide you with essential tips to connect your console to your TV effectively, ensuring you get the best performance and picture quality.

Understanding Your Console and TV Ports
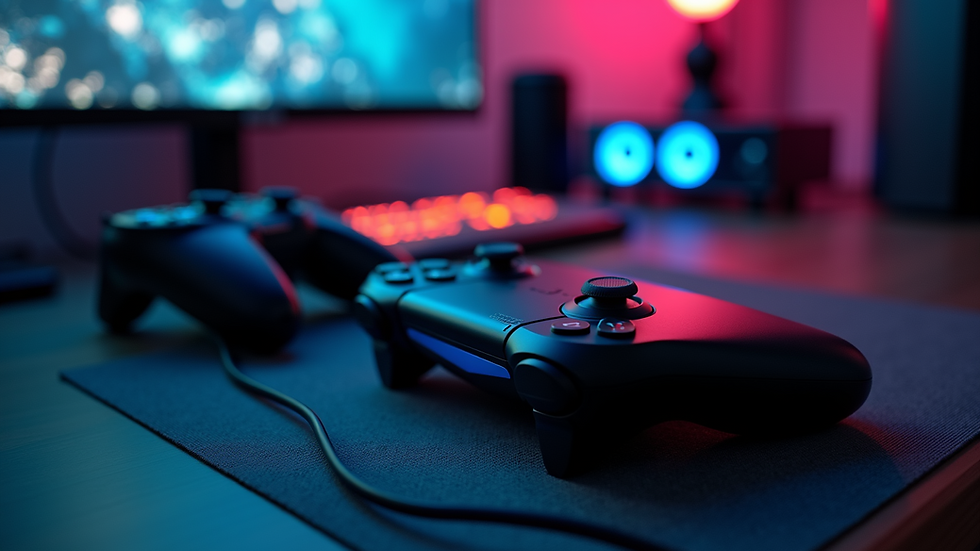
Before you start connecting your console, it's crucial to understand the ports available on both your gaming console and your TV. Most modern consoles, such as the PlayStation 5 and Xbox Series X, use HDMI ports for video and audio output. Here are some common ports you might encounter:
HDMI: The most common connection for modern consoles. It carries both audio and video signals.
Optical Audio: Used for high-quality audio output, often connected to sound systems.
USB Ports: Useful for charging controllers or connecting external storage devices.
Ethernet Port: For wired internet connections, providing a more stable online gaming experience.
Identifying the Right Cables
Once you know the ports available, the next step is to gather the right cables. Here are the most common cables you will need:
HDMI Cable: Ensure you have a high-speed HDMI cable for the best performance. Some consoles come with one included, but you can purchase additional cables if needed.
Optical Audio Cable: If you're using a sound system that requires this connection, make sure to get one.
Ethernet Cable: If you prefer a wired internet connection, have an Ethernet cable ready.
Step-by-Step Connection Guide
Now that you have the necessary cables and understand the ports, follow these steps to connect your console to your TV:
Step 1: Power Off Your Devices
Before making any connections, turn off your TV and gaming console. This prevents any potential damage and ensures a smooth setup process.
Step 2: Connect the HDMI Cable
Locate the HDMI Port: Find the HDMI port on your console and your TV.
Insert the HDMI Cable: Connect one end of the HDMI cable to the console and the other end to the HDMI port on your TV. Make a note of which HDMI port you used (e.g., HDMI 1, HDMI 2) as you will need this information later.
Step 3: Connect Additional Cables (if necessary)
If you're using an optical audio cable or Ethernet cable, connect them now. For the optical audio cable, plug one end into the console and the other into your sound system. For the Ethernet cable, connect it to the console and your router.
Step 4: Power On Your Devices
Turn on your TV first, followed by your gaming console. This order helps the TV recognize the console.
Step 5: Select the Correct Input Source
Using your TV remote, select the input source that corresponds to the HDMI port you connected your console to. This is often done by pressing the "Input" or "Source" button on the remote.
Step 6: Configure Console Settings
Once your console is on and the TV is displaying the console's home screen, you may need to adjust some settings:
Display Settings: Go to the console's settings menu and select the display options. Choose the resolution that matches your TV for optimal picture quality.
Audio Settings: If you're using a sound system, ensure the audio output is set to the correct option (e.g., HDMI or optical).
Troubleshooting Common Issues
Even with the best preparations, you might encounter some issues when connecting your console to your TV. Here are some common problems and their solutions:
No Signal on TV
If your TV displays a "No Signal" message, check the following:
Ensure the HDMI cable is securely connected to both the console and the TV.
Verify that you have selected the correct input source on your TV.
Try using a different HDMI port on your TV.
Poor Picture Quality
If the picture quality is not as expected, consider these tips:
Check the resolution settings on your console. Make sure it matches your TV's capabilities.
Ensure you are using a high-speed HDMI cable, especially for 4K gaming.
Audio Issues
If you're experiencing audio problems, try these steps:
Check the audio settings on your console to ensure the correct output is selected.
If using external speakers, ensure they are powered on and connected properly.
Enhancing Your Gaming Experience
Once your console is connected, you can take additional steps to enhance your gaming experience:
Use a Gaming Monitor
If you want to take your gaming to the next level, consider using a gaming monitor instead of a standard TV. Monitors often have faster refresh rates and lower input lag, providing a more responsive gaming experience.
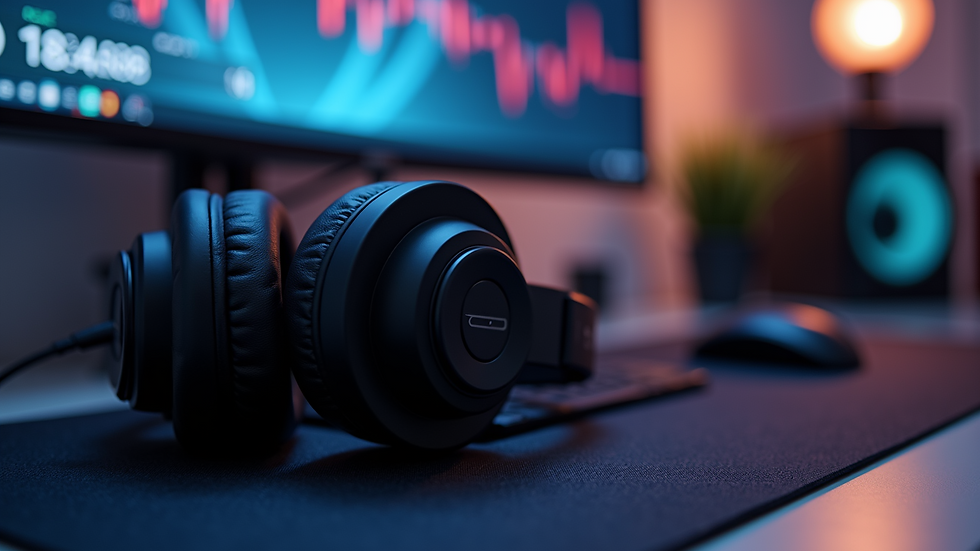
Invest in Quality Speakers
For an immersive audio experience, invest in a good sound system or gaming headset. High-quality audio can significantly enhance your gameplay, making it more enjoyable.
Keep Your Console Updated
Regularly check for system updates for your console. Updates can improve performance, fix bugs, and add new features, ensuring you have the best gaming experience possible.
Conclusion
Connecting your gaming console to your TV doesn't have to be a complicated process. By understanding the ports, using the right cables, and following the steps outlined in this guide, you can set up your console with ease. Remember to troubleshoot any issues that arise and consider enhancements to improve your gaming experience. Now that you're ready to game, grab your controller and enjoy the adventure that awaits!
Comments